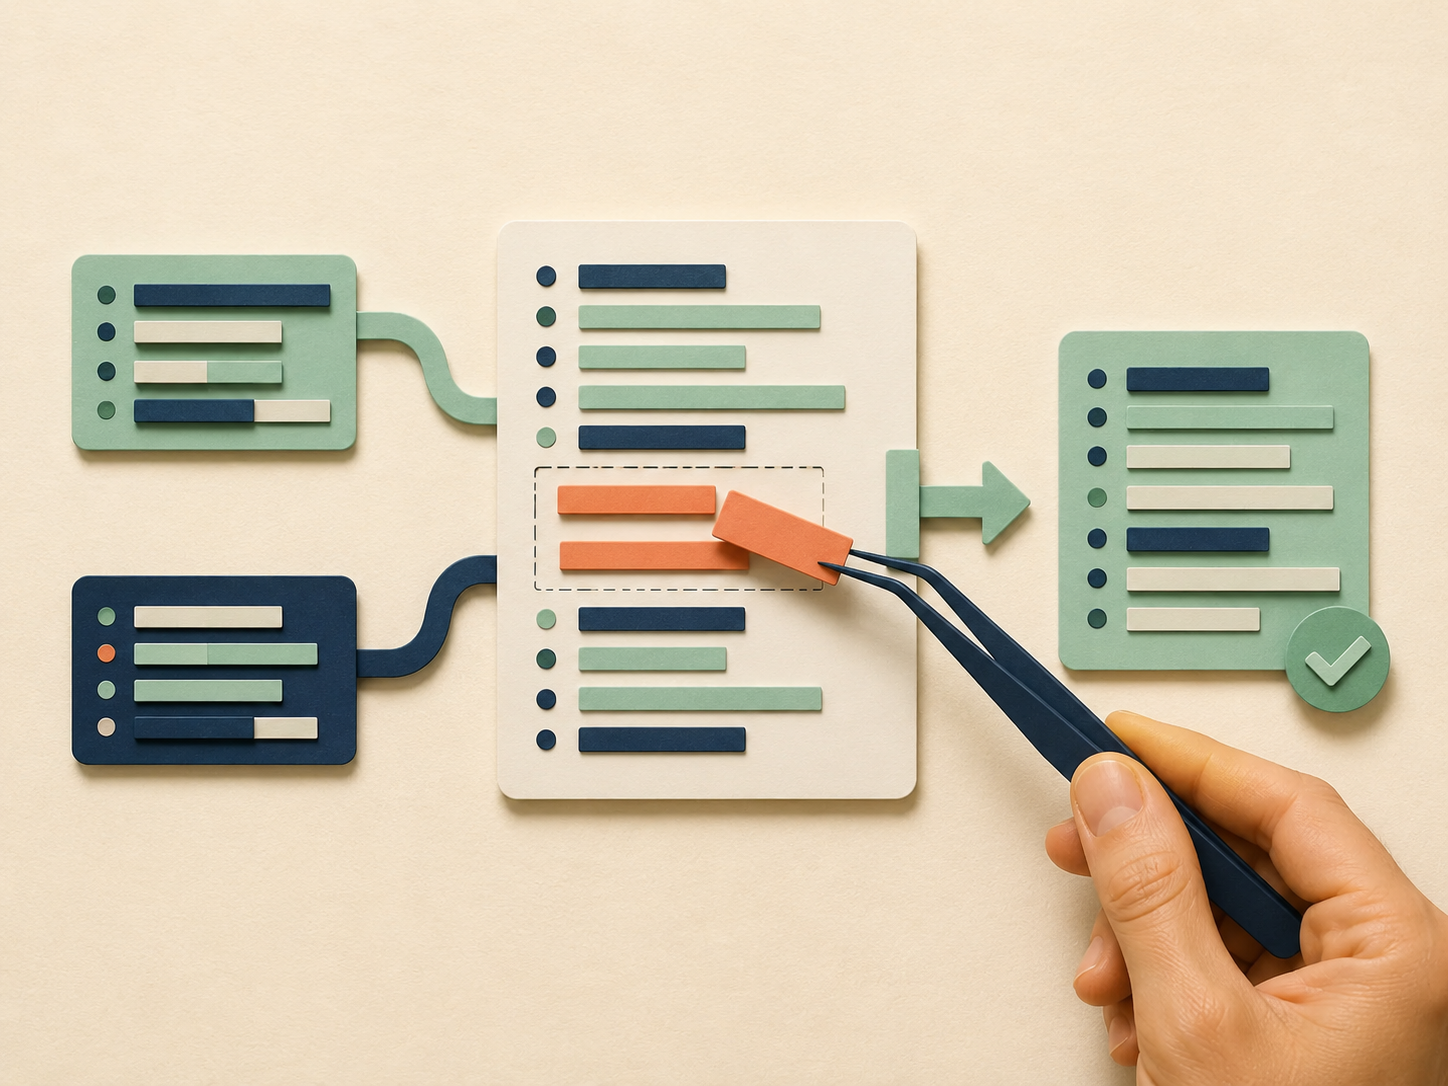
A Git merge conflict is not Git telling you that the repository is broken. It is Git telling you that two lines of development changed the same part of the project in ways it cannot combine safely on its own. Your job is to decide what the final code should be, verify that decision, and then tell Git the conflict has been resolved.
The stressful part is that conflicts often appear while you are already trying to finish a pull request, update a feature branch, or deploy a fix. That pressure makes it tempting to click Accept Current, choose theirs, or delete the conflict markers until Git stops complaining. Those shortcuts can produce a clean merge that quietly removes someone else's work—or your own.
This guide uses a practical workflow you can follow from the moment a conflict appears through the final verification. It also explains when to abort, how merge conflicts differ during a rebase, and what to do if you realize after the fact that you kept the wrong version.
What a Git Merge Conflict Actually Means
Git normally combines branches automatically by comparing their histories and applying changes that do not overlap in an ambiguous way. A conflict occurs when Git cannot confidently determine the intended final state. The most familiar example is when two branches modify the same lines, but conflicts can also happen when one branch deletes a file that another branch edits, when files are renamed differently, or when several related changes make the automatic merge unsafe.
The important mental model is this: a conflict is a question about the final result, not a contest between two versions. Sometimes the correct answer is your version. Sometimes it is the incoming version. Very often the correct answer is a third version that combines the intent of both branches.
Treat every conflict as a small code review: understand what each side was trying to accomplish before deciding what belongs in the merged file.
Before You Resolve Anything, Protect Your Current Work
The safest merge-conflict workflow begins before the merge. Git's own merge documentation warns that starting a merge with meaningful uncommitted changes can make an abort harder to reconstruct cleanly. Before bringing another branch into your work, run:
git statusIf the working tree contains changes you care about, either commit them to the current branch or deliberately stash them before starting the merge. A small work-in-progress commit on a private feature branch is often easier to reason about than mixing unrelated local edits into a conflict-resolution session.
Also make sure you know which branch you are on. If you intend to update a feature branch with the latest main branch, a typical sequence is:
git switch feature/profile

git fetch origin

git merge origin/main
If Git can merge the histories automatically, you are done. If it stops with conflicts, do not start deleting markers yet. First identify the complete set of files that need attention.
A Safe Step-by-Step Merge Conflict Workflow
1. Ask Git Which Files Are Unresolved
Start with git status. Git will list unmerged paths and usually describe each conflict, such as
both modified, deleted by us, or deleted by them.
git statusWork through that list deliberately. Do not assume the first conflict shown by your editor is the only one. A merge can contain several conflicts across configuration, source code, tests, and generated files.
2. Read the Conflict Markers Before Choosing a Side
For a normal line conflict, Git writes markers into the file. A simplified example looks like this:
<<<<<<< HEAD
return this.http.get<User[]>('/api/users').pipe(
  retry({ count: 2, delay: 300 })
);
=======
return this.http.get<User[]>(`${environment.apiBaseUrl}/users`).pipe(
  catchError(() => of([]))
);
>>>>>>> origin/main
During a normal merge, the section after <<<<<<< HEAD represents the version from the branch you
currently have checked out. The section after ======= represents the competing version being merged in,
ending at the >>>>>>> marker.
The labels tell you where the text came from. They do not tell you which text is correct.
3. Understand the Intent of Both Changes
In the example above, the feature branch added retry behavior. Meanwhile, the main branch stopped hard-coding the API URL and added a fallback for failed requests. Choosing only one side would discard a valid improvement from the other. The intended final implementation may be:
return this.http.get<User[]>(`${environment.apiBaseUrl}/users`).pipe(
  retry({ count: 2, delay: 300 }),
  catchError(() => of([]))
);
This is why the safest question is not "ours or theirs?" It is "what behavior should exist after these branches are combined?" You may need to inspect the surrounding code, the commits that introduced each change, the pull request description, or related tests before answering.
If the two versions are large, a side-by-side comparison can make the intent easier to see. Lucopia's Text Compare can help when you want a focused view of additions and removals without editing the repository itself.
4. Edit the File Into the Final Version
Replace the entire conflicted block with the code you actually want to keep. Remove all conflict markers. Do not leave
<<<<<<<, =======, or >>>>>>> in source files simply because the
project happens to compile around them.
Then read the surrounding function as normal code. Conflict resolution can create duplicate statements, missing imports, repeated object properties, broken commas, or logically incompatible operations even after the markers are gone.
5. Stage Only the Files You Have Actually Resolved
After you are satisfied with one file, mark it resolved by staging it:
git add src/app/services/user.service.ts
Staging is how you tell Git, "this file now contains the resolution I want." If several files remain conflicted,
continue resolving them one at a time. Running git status between files gives you a simple checklist of what
is finished and what still needs work.
6. Verify the Resolution Before Finishing the Merge
A conflict is not safely resolved just because git status no longer says unmerged. Review the
staged changes and run the same checks you would expect before a normal commit: formatting, linting, unit tests, build,
and any targeted manual test related to the conflict.
For an Angular project, for example, you might run the project's normal commands such as:
npm test
npm run build
The exact commands depend on the repository. The principle is the same: verify behavior, not just Git state. A syntactically valid resolution can still be semantically wrong.
7. Complete the Merge
Once every conflict is resolved and staged, check the repository again:
git statusIf Git reports that all conflicts are fixed, finish the merge using the instruction Git gives you. For a normal merge, that is commonly a merge commit:
git commit
Git also supports git merge --continue for an in-progress merge after conflicts have been resolved. Whichever
path you use, inspect the final commit or pull-request diff before pushing.
Why "Accept Current" and "Accept Incoming" Can Be Dangerous
Modern editors make conflicts easier to read, but one-click buttons can create false confidence. "Accept Current" is not synonymous with "keep my work forever," and "Accept Incoming" is not synonymous with "take the newest code." Those labels describe sides of the current merge operation, not business intent.
Whole-file shortcuts such as --ours and --theirs deserve even more caution. They can be useful
when you genuinely want one complete version of an unresolved file, but they can also throw away valid changes in a
single command.
There is an additional trap during a rebase: Git's documentation notes that the apparent meaning of
ours and theirs can look reversed compared with a normal merge. During rebase, Git is replaying
commits onto a new base, so the side labels reflect that operation rather than the everyday idea of "my branch" and
"their branch."
A safer default is to inspect the conflict and edit the intended final content explicitly. Use side-selection shortcuts only when you understand the operation and have verified which version each side represents.
Merge Conflicts During a Rebase
The file-editing process is similar during a rebase, but the command that resumes the operation is different. When rebase stops on a conflicting commit, resolve the file, stage the resolution, and continue with:
git add path/to/resolved-file

git rebase --continue
Git may stop again on a later commit, because a rebase replays commits one at a time. Repeat the resolve, stage, test, and continue cycle until the rebase finishes.
If you determine that continuing the rebase is the wrong decision, you can return to the pre-rebase state with:
git rebase --abort
Do not substitute merge commands for rebase commands just because the conflict markers look the same. Before acting,
git status will normally tell you whether a merge or rebase is currently in progress.
When You Should Abort Instead of Resolving
Aborting is not failure. It is often the safest choice when you realize you merged the wrong branch, started from an outdated base, have too many unrelated local edits, or do not yet understand the changes on the other side.
For an in-progress merge, Git provides:
git merge --abortFor an in-progress rebase, use:
git rebase --abortThe reason for checking your working tree before beginning is important here: Git warns that reconstructing the exact pre-merge state can be difficult when the merge was started with non-trivial uncommitted changes. A clean starting point gives the abort operation much less ambiguity.
How to Handle Delete-vs-Modify Conflicts
Not every conflict contains line markers. Suppose one branch deliberately removes an obsolete configuration file while another branch edits that same file. Git cannot infer whether the deletion should win or whether the updated file should remain.
First determine why the file was deleted and why it was changed. If the deletion is intentional because the feature moved elsewhere, keeping the edited file may reintroduce dead configuration. If the deletion was accidental or based on an older design, restoring the updated file may be correct.
After deciding, either stage the version you want to keep with git add or stage the deletion with
git rm. Then verify any references, imports, build steps, or deployment configuration affected by that
decision.
Resolving Conflicts in VS Code or GitHub
A visual editor can make the same workflow faster. VS Code and other Git clients can display the two sides next to each other and offer actions for keeping one side, the other side, or both. GitHub also provides a web conflict editor for certain simple competing-line conflicts in pull requests; more complex conflicts still need to be handled locally.
The interface does not change the core responsibility. You still need to understand both changes, create the intended final version, mark the file resolved, and verify the result. Treat the UI as a better view of the conflict—not as an automatic decision maker.
What If You Already Resolved It Wrong?
First, avoid panic-driven destructive commands. If the incorrect resolution has not been committed yet, you may be able to abort the active merge or rebase and start again from a clean state. If you already created a commit, inspect the repository history before rewriting anything.
Git's reflog records recent movements of local branch references and HEAD, which can help you
identify where the branch pointed before a merge, reset, or rebase. Start by inspecting it:
git reflogIf you identify a known-good commit, consider creating a temporary recovery branch pointing to it before making further changes. That gives you a named reference you can return to while you investigate.
If the bad resolution has already been pushed and other people may have based work on it, a new corrective commit is
often safer than rewriting shared history. The correct recovery depends on the repository's collaboration rules, so do
not reach automatically for reset --hard or force-push simply because they appear in a search result.
Common Merge Conflict Mistakes
- Starting with a dirty working tree. Unrelated local changes make both resolution and recovery harder.
- Choosing a side without reading it. A one-click resolution can silently remove valid behavior.
- Removing markers but not reconciling logic. Compiling code can still contain duplicate or incompatible behavior.
- Resolving generated files first. When possible, resolve the source of truth and regenerate derived output afterward.
- Skipping tests after a "small" conflict. Small text conflicts can represent large behavioral differences.
- Confusing merge and rebase state. The next command depends on the operation Git is currently performing.
- Using ours/theirs blindly. The labels are operational, and rebase makes their meaning especially easy to misread.
- Force-pushing as the first recovery step. Shared history deserves a deliberate recovery plan.
How to Reduce Merge Conflicts in the Future
You cannot eliminate conflicts from active collaborative development, and you should not try to avoid necessary changes just to keep Git quiet. You can, however, make conflicts smaller and easier to understand.
- Keep branches focused on one feature or fix instead of mixing unrelated work.
- Integrate changes regularly so long-lived branches do not drift far apart.
- Prefer small pull requests that reviewers and authors can reason about quickly.
- Coordinate before several developers restructure the same high-churn files.
- Use automated formatting so whitespace-only changes do not create unnecessary noise.
- Separate large mechanical refactors from behavior changes when practical.
- Write tests around important behavior so a merged result can be verified objectively.
These habits do more than reduce conflict frequency. They also make the conflicts that remain easier to resolve because each branch has a clearer purpose.
A Quick Merge Conflict Checklist
- Run
git statusand confirm which Git operation is in progress. - Identify every unresolved file.
- Read both sides of each conflict before editing.
- Determine the intended final behavior, not merely the preferred side.
- Edit out the markers and reconcile surrounding code.
- Stage each resolved file with
git addor the appropriate deletion withgit rm. - Run tests, builds, linting, and targeted manual checks.
- Review
git statusand the final diff. - Complete the merge with
git commitor continue the rebase withgit rebase --continue. - If the operation is wrong or unclear, abort and restart from a clean, understood state.
Conclusion
The safest way to resolve a Git merge conflict is slower than blindly accepting one side and much faster than recovering
lost work later. Start from a clean working tree, let git status tell you exactly what is unresolved, read
the intent behind both changes, create the final code deliberately, and verify behavior before completing the operation.
Once you adopt that workflow, merge conflicts become less mysterious. They are simply places where Git needs a human to make a decision. The goal is not to make the red conflict markers disappear; the goal is to produce the version of the software that should exist after both lines of work come together.